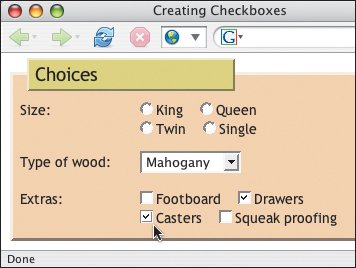
1. | If desired, type the introductory text (something like Select one or more of the following) for your checkboxes.
|
2. | Type <input type="checkbox". (Notice there is no space in the word checkbox.)
|
3. | Type name="boxset", where boxset both identifies the data sent to the script and also links the checkboxes together.
|
4. | Type value="data", where data is the text that will be sent to the server if the checkbox is marked (either by the visitor, or by you as described in step 5).
|
5. | Type checked="checked" to make the checkbox checked by default when the page is opened. You (or the visitor) may check as many checkboxes as desired. (The ="checked" is optional in HTML.)
|
6. | Type /> to complete the checkbox.
|
7. | Type the text that identifies the checkbox to the user. This is often the same as the value, but doesn't have to be.
|
8. | Repeat steps 27 for each checkbox in the set.


|
 Best javascript editor debugger
Ajax website
 Best javascript editor debugger
Ajax website